How going solar actually works
Panels go up in a day or two — but the full journey from "I'm interested" to "my meter is spinning backward" runs about six to twelve weeks. Here's every stage in detail: what happens, who does what, and how to keep it moving.
Going solar happens in five steps: (1) a free consultation and bill analysis, (2) a custom design and quote, (3) contract, permits, and the utility interconnection application, (4) installation day (usually 1–3 days), and (5) inspection and permission to operate (PTO), when you can finally switch on. The install is fast; the paperwork is what stretches the timeline to roughly 6–12 weeks end to end. Below, we break down exactly what to expect at each stage.
The five stages at a glance
Most homeowners are surprised that the part everyone pictures — crews on the roof — is the shortest step of all. The bulk of your timeline is spent on approvals that exist for safety and grid reliability. Here's the whole journey and how long each stage typically takes:
| Stage | What happens | Typical time |
|---|---|---|
| 1. Consultation | Bill analysis & system design | 30–60 min |
| 2. Design & quote | Itemized proposal & production estimate | 2–5 days |
| 3. Permits & interconnection | City permit, HOA, utility application | 2–6 weeks |
| 4. Installation | Racking, panels, inverter, battery | 1–3 days |
| 5. Inspection & PTO | City inspection + utility sign-off | 1–3 weeks |
Timelines vary by jurisdiction and utility. Busy permitting offices, HOA review cycles, and utility backlogs are the most common sources of delay — none of which are the installer's crew time.
Why "6–12 weeks" and "1–3 days" are both true
The contradiction trips people up. The installation is 1–3 days. The end-to-end process — permits, interconnection, inspection, PTO — is 6–12 weeks. When an installer says "we can install next week," they usually mean the crew day, not switch-on.
Step 1: Free consultation & bill analysis
Everything starts with your electricity usage. A reputable installer will ask for 12 months of utility bills (or your account's annual kWh total) before they quote anything — because the right system size is driven by how much power you actually use, not by how big your roof is.
What the installer is doing
- Analyzing your consumption. They look at your annual kWh, seasonal peaks (summer AC, winter heating), and your current rate to model how much solar offsets your bill.
- Assessing your roof. Orientation, pitch, shading, age, and available square footage all shape the design. Many installers do this remotely first with satellite imagery, then confirm on site.
- Understanding your goals. Lowest bill? Backup power? Maximum offset? Whether you want a battery changes the design significantly.
What you should do
Come prepared with your recent bills and a clear sense of your priorities. This is also the moment to ask the questions that separate good installers from bad ones: How long have you been in business? Are your crews in-house or subcontracted? What warranties back the work? It costs nothing and there's no obligation — and you should always get more than one consultation so you can compare.
The bill is everything
An accurate quote is impossible without your real usage. If an installer quotes a system before seeing a bill, treat the number as a rough guess — not a real proposal. This is exactly why our quote form lets you upload a recent bill.
Step 2: Custom design & written quote
With your usage and roof in hand, the installer produces a custom system design and an itemized proposal. This is the document you'll compare across installers, so it pays to understand every line.
What's in a good proposal
- System size in kilowatts (kW) and the number of panels.
- Equipment list — specific panel and inverter models, and any battery.
- Production estimate — expected annual kWh, which should roughly match your usage.
- Itemized price and the cost per watt, plus financing options.
- Savings & payback projection, ideally modeled on your actual rate and net-metering rules.
- Warranties — equipment, inverter, and the installer's own workmanship coverage.
How to compare quotes
Convert every quote to dollars per watt so you're comparing fairly across different system sizes. Then look past the price: a slightly higher quote with better equipment, a longer workmanship warranty, and a realistic production estimate is often the better deal. Be skeptical of production projections that look far rosier than competitors' — inflated estimates make payback look better than it really is.
Get at least three quotes
Pricing for the same system can swing meaningfully between a lean local installer and a national brand. Three proposals give you the leverage and context to choose confidently. See how we evaluate installers in our ranking methodology.
Step 3: Contract, permits & interconnection
Once you sign, the project moves into its longest phase — and almost all of it is paperwork your installer handles on your behalf. This is where the calendar weeks accumulate.
The three approvals running in parallel
City permit
Your local building department reviews the electrical and structural plans and issues a permit to install. Timelines depend entirely on the jurisdiction.
HOA approval
If you have a homeowners association, it may need to approve the panel layout. Some are quick; others meet only monthly.
Utility interconnection
Your utility reviews an application to connect your system to the grid and sets up net metering. This is often the longest single wait.
What you should do
Mostly, stay reachable. Your installer may need a signature, a copy of your deed, or HOA documents. Responding quickly keeps things moving. If you're in an HOA, ask early about its solar-approval process and meeting schedule — that single step is a common, avoidable source of delay.
This stage is mostly waiting
It can feel like nothing is happening, but your installer is navigating queues at the city and utility. A good installer keeps you updated; if yours goes quiet for weeks, ask for a status check. Many jurisdictions have sped up permitting, but utility interconnection backlogs remain the wild card.
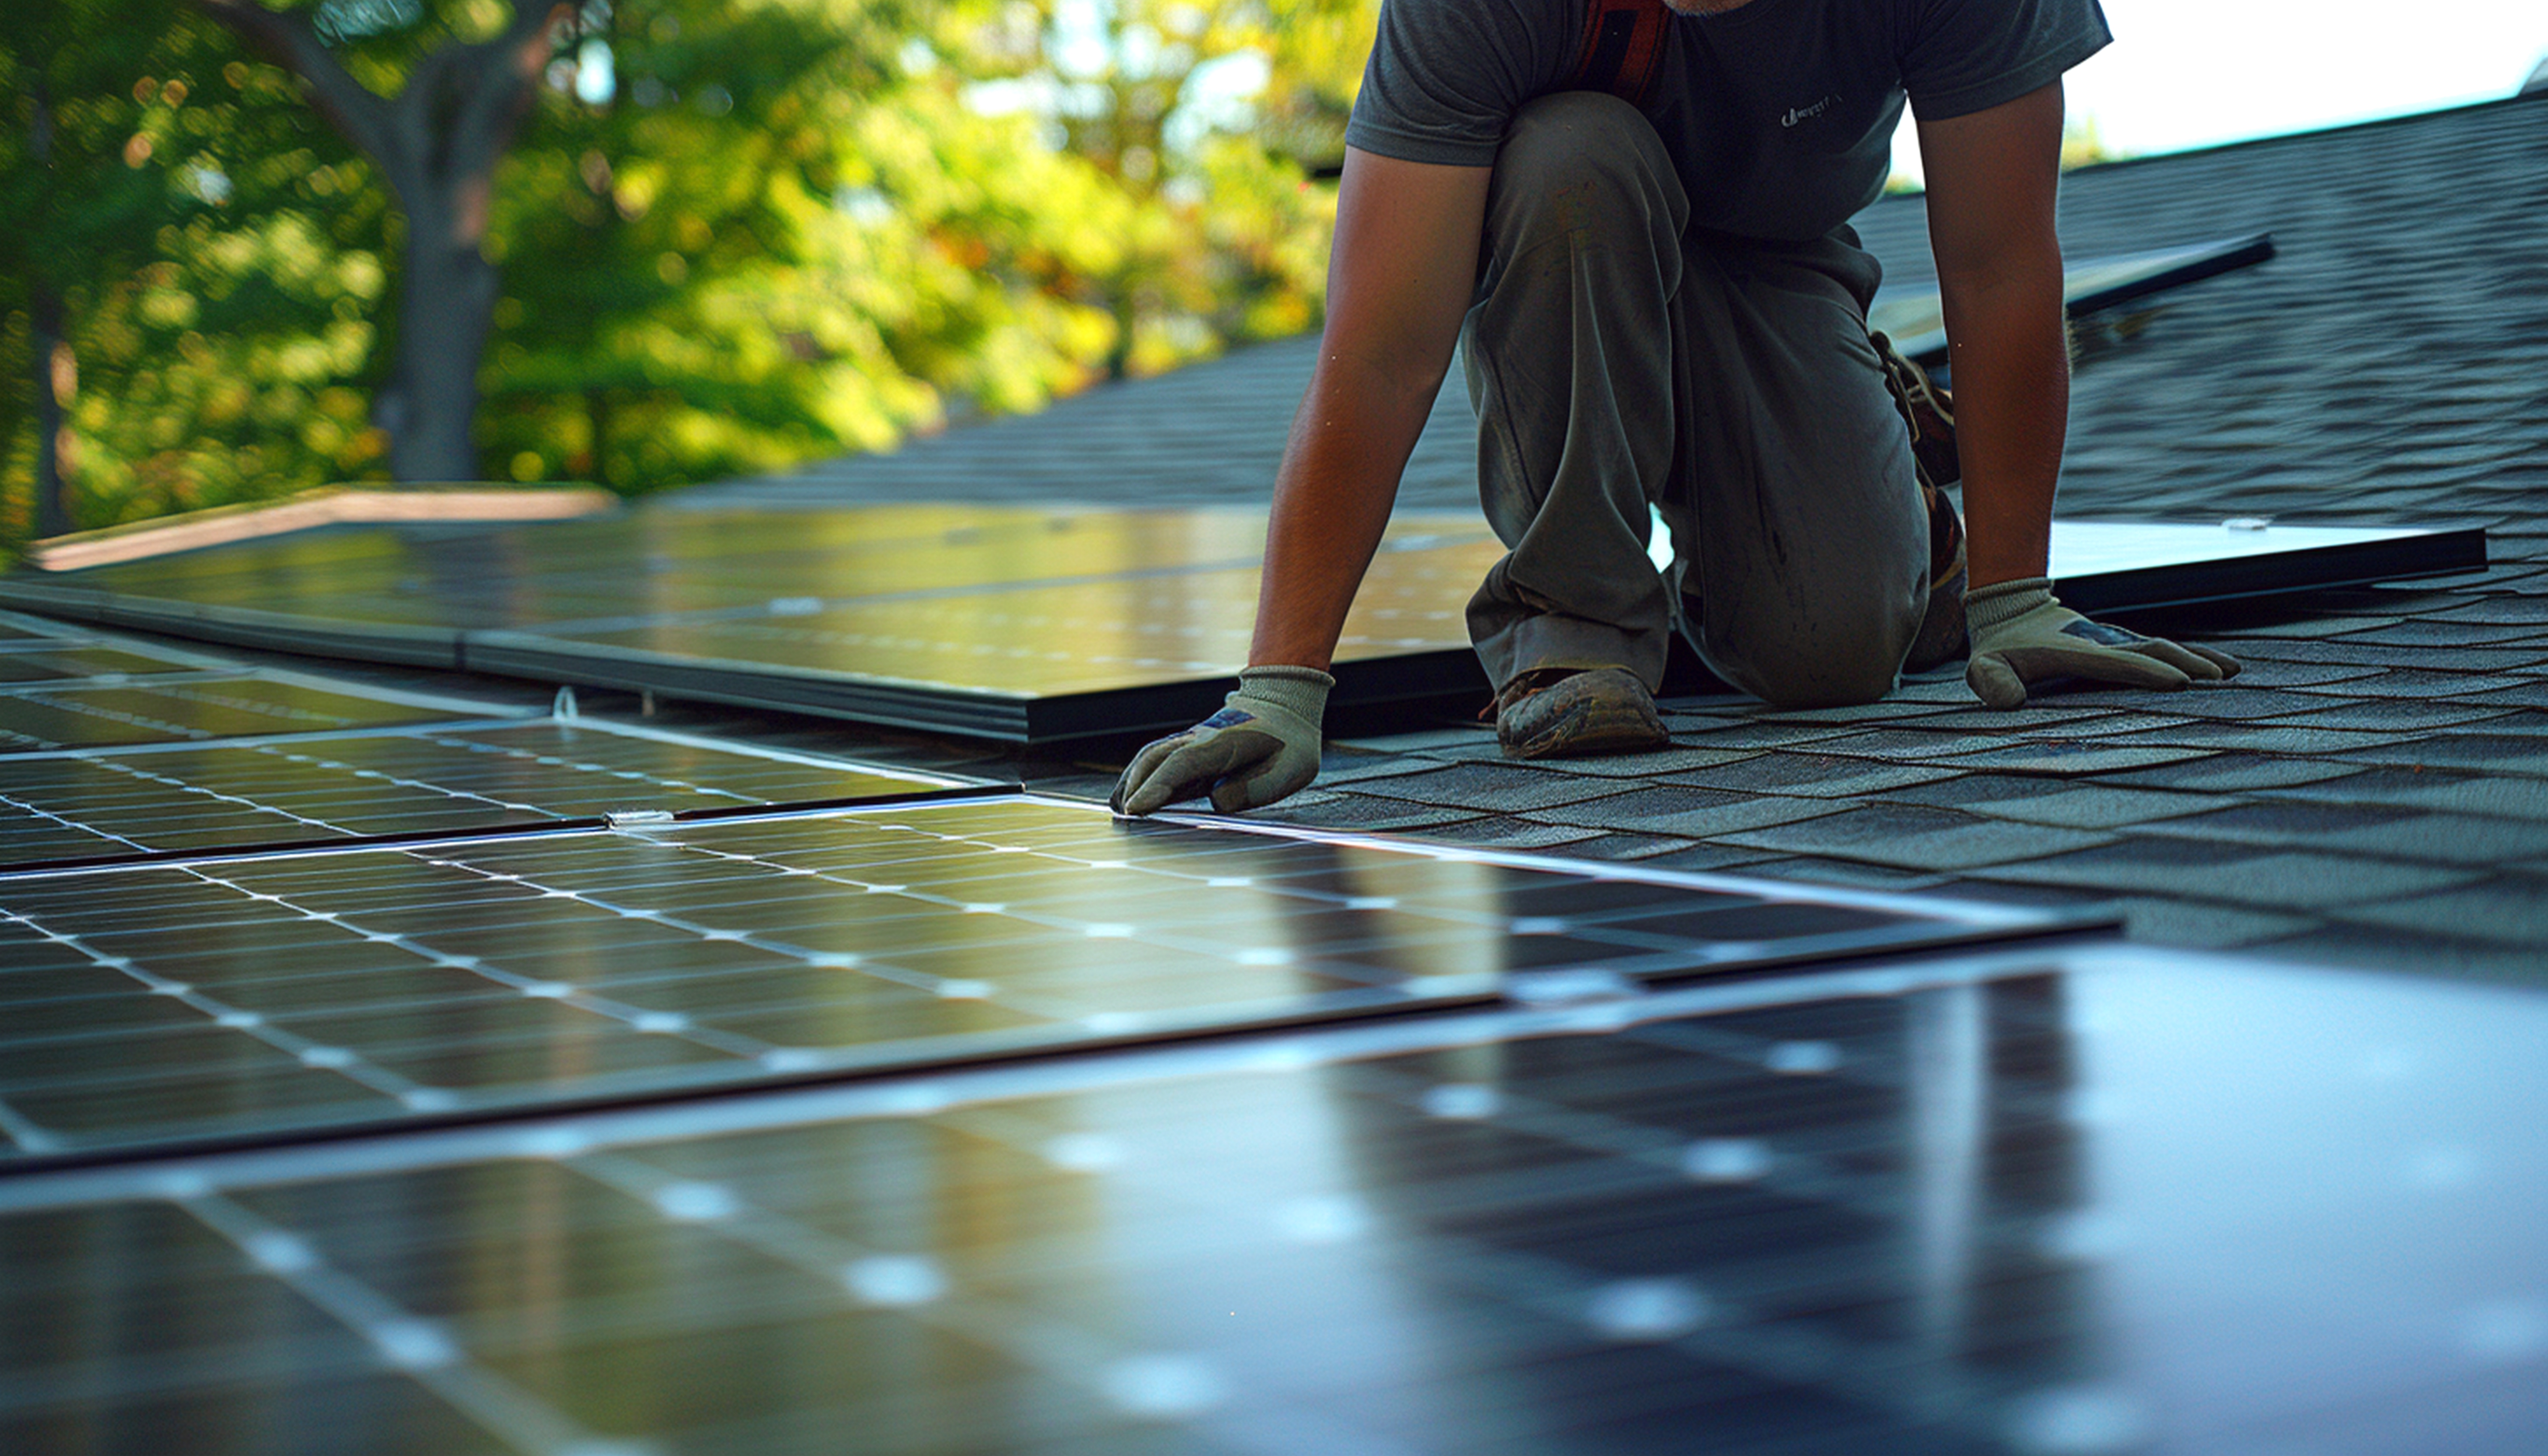
Step 4: Installation day
This is the part you pictured — and it's refreshingly fast. For a typical home, the crew finishes in one to three days. A simple roof might be a single day; a larger system with a battery or electrical upgrades can run longer.
What happens on the roof (and at your panel)
- Racking goes up first. Crews mount the rails that hold your panels, sealing every roof penetration with flashing to keep it watertight.
- Panels are mounted and secured to the racking.
- The inverter is installed — a central unit on a wall, or microinverters on each panel.
- Any battery is mounted and wired, typically in a garage or on an exterior wall.
- Electrical work ties it all together — conduit, wiring, a possible main-panel upgrade, and safety disconnects.
What to expect as the homeowner
You don't need to be home the whole time, but plan for a brief power shut-off while the crew ties into your electrical panel. Expect ladders, foot traffic on the roof, and some noise. A professional crew protects landscaping, cleans up debris, and walks you through the system before they leave.
Is your roof ready?
Installation day is the worst time to discover your roof needs replacing. If it's near the end of its life, replace it before the panels go on — otherwise you'll pay to remove and reinstall them later. See our roof health guide.
Step 5: Inspection & permission to operate (PTO)
Here's the surprise that frustrates new solar owners: your system is on the roof but you can't turn it on yet. Two final approvals stand between installation and switch-on.
- Local inspection. A city or county inspector verifies the installation meets electrical and building codes. If anything needs correcting, the installer fixes it and re-schedules — a normal, fixable step.
- Permission to operate (PTO). Your utility gives final sign-off, installs or approves a net-metering-capable meter, and authorizes you to energize the system and connect to the grid.
Only after PTO can you legally flip the switch. The day you do, your panels start producing, your meter begins crediting the surplus you export, and your bill starts to shrink. It's anticlimactic — usually just an email and a breaker flip — but it's the moment your investment goes to work.
Don't switch on before PTO
Running your system before the utility grants PTO can violate your interconnection agreement and create safety issues. As tempting as it is to flip it on the day the panels are up, wait for the official approval — it's usually only a week or two away.
After switch-on: what to expect
Once you're live, solar is famously low-maintenance — but a few things are worth knowing for the long run.
Monitor your production
Your system comes with an app or web portal. Check it occasionally to confirm output matches the estimate — that's how you catch an underperforming panel or a tripped inverter early.
Read your new bill
Your first post-solar bill looks different. You'll see usage, exports, and any net-metering credits. It can take a billing cycle or two to fully understand the new math.
Minimal maintenance
Panels have no moving parts. Rain handles most cleaning; an occasional rinse in dusty climates is plenty. The inverter is the part most likely to need service over the decades.
Keep your paperwork
Save your contract, warranties, permit, and PTO. They matter for warranty claims and add value if you sell the home.
From here, the question becomes financial rather than procedural: how fast does it pay off? That's exactly what our is-solar-worth-it guide walks through.
Frequently asked questions
How long does it take to install solar panels?
What are the steps to going solar?
What is permission to operate (PTO)?
Why does it take so long if the panels go up in a day?
Do I need to be home during installation?
Ready to start? Get matched with top-rated installers
The first step is a free consultation. Upload a recent energy bill and up to four independently reviewed installers will design a system and quote it accurately — so you can compare apples to apples.
- Start with a no-obligation consultation
- Upload a bill for an exact, accurate quote
- You choose who to hire — zero pressure